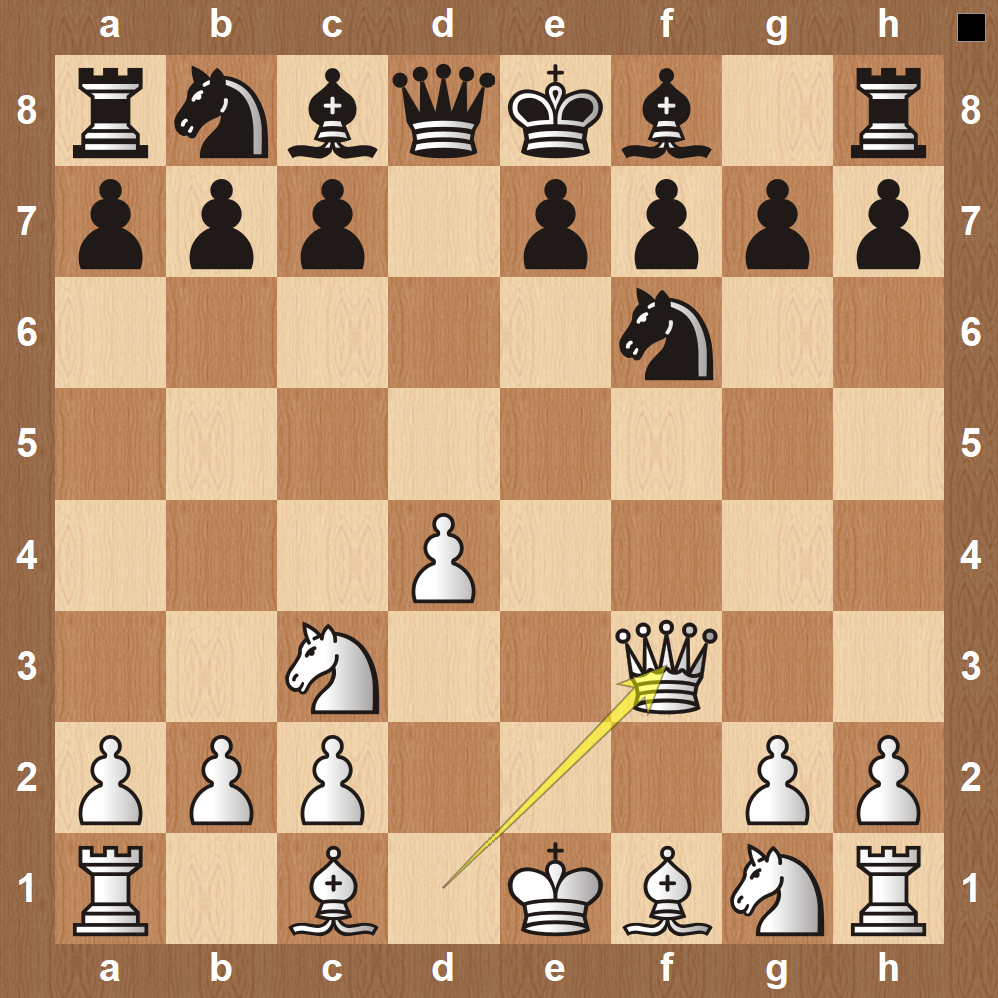
The Ryder Gambit is an aggressive line in the already aggressive Blackmar-Diemer Gambit. White gives up two pawns in exchange for an open board state and active pieces. It starts with the moves:
1. d4 d5
2. e4 dxe4
3. Nc3 (Blackmar-Diemer Gambit) Nf6
4. f3 exf3
5. Qxf3
White leaves the pawn on d4 undefended and allows black the opportunity to take both of white’s central pawns after only five moves.
To make the compensation worth it, white must keep their foot on the gas and attack their opponent with their lead in development.
Black also doesn’t have to accept the gambit on d4. Some of the common lines for black are 5…a6, Nc6, and Qxd4.
5…a6
One of the most common moves for white is Bb5 and this stops white from that plan. White will instead continue with 6. d5. This accomplishes two things. First, it stops black from playing Nc6, which is the most logical next move. Second, it allows white to defend the pawn with the knight and queen. This is a safe route for white and it’s difficult for black to find an edge in this position.
5…Nc6
Because white can play 6. d5, black may opt to first play Nc6. It becomes a cat and mouse game and white can play Bb5, pinning down the knight, since the pawn isn’t on a6 controlling the b5 square. This is also a trap for black. If they take Qxe4, white can play Bxc6 and after bxc6, Qxc6+, white wins the rook. Even if black plays a6 instead of Qxe4, they still lose to Bxc6.
The best move is for black to play 6…Bd7 but this also has its own challenges.
5…Qxe4
This is the most common line for black as they go up two pawns in material and have an active queen. White should develop as much material as possible while avoiding trades. 6. Be3 is the most common line for white, attacking the queen and opening up the queen side to castle or get the rook to d1 and join the attack.
Below you can watch all of the lines referenced on this page and see a much deeper analysis on the Ryder Gambit.